Friday, August 19, 2011

stencil + watercolor

I woke up inspired today. "Where are my watercolors!?" I ask my husband as I scramble to find them before my creativity starts leaking out of my brain. I am simultaneously reaching for an exacto-knife and construction paper, and my poor husband can hardly hand me my paints before I start furiously sketching various animal shapes onto my paper. Fast forward an hour and a half later....


 Penny couldn't be more bored with me...

here are my stencils... and yes, you have to go through all the trouble of drawing a silhouette and cutting it out.  But the rest is easy. I like that they can be perfectly imperfect. 

antelope

 Ikea frames! I love them!


 I want to make a million more! 

Thursday, July 28, 2011

Camping Cuties

like I said in past blogs, I have this grandiose dream of "pretty camping". I have realized that it is going to take a few trips to get everything in order. But here is what I have so far:

 (I made the bunting in the backgroound with some napkins I found in the dollar bin at target.)


(here is another shot of the bunting with a pretty swallowtail butterfly. I had a lot of fun finding all the dishes we used on the trip. The plastic stemless wine glasses were on sale at Target for $2.50 for four! We also have a fantastic oilcloth table cloth that makes camping sanitary AND beautiful.)

(I bought these a few weeks ago at a thrift store and had this idea that I would transform them into "Camping Caddies". I cut a half inch pvc pipe to 6" and used wire to attach them to the baskets. then I decorated the pvc pipes with washi tape and Voila! Adorable little caddies.)

(This on is the Bathroom Caddy, complete with Clorox, air freshener, hand sanitizer, toilet paper, lysol disinfectant spray, and a little lantern)
 
 (This one is the "Beauty Caddy" with all the things you need on an hourly basis on a camping trip but don't want to go digging through you luggage for every time. We filled ours with a brush, baby wipes, dry shampoo, spray deodorant - we felt it was easy to apply AND every one could share it- a mirror, spray on sunscreen, an arsenal of bug sprays, and hair ties)

(here is a shot of the two baskets together. We also had one for first aid supplies and another that we used to collect drift wood and flowers in on our hikes)

cute eh?

Thursday, July 14, 2011

Here's What I've Been Up To

Tool Belts.
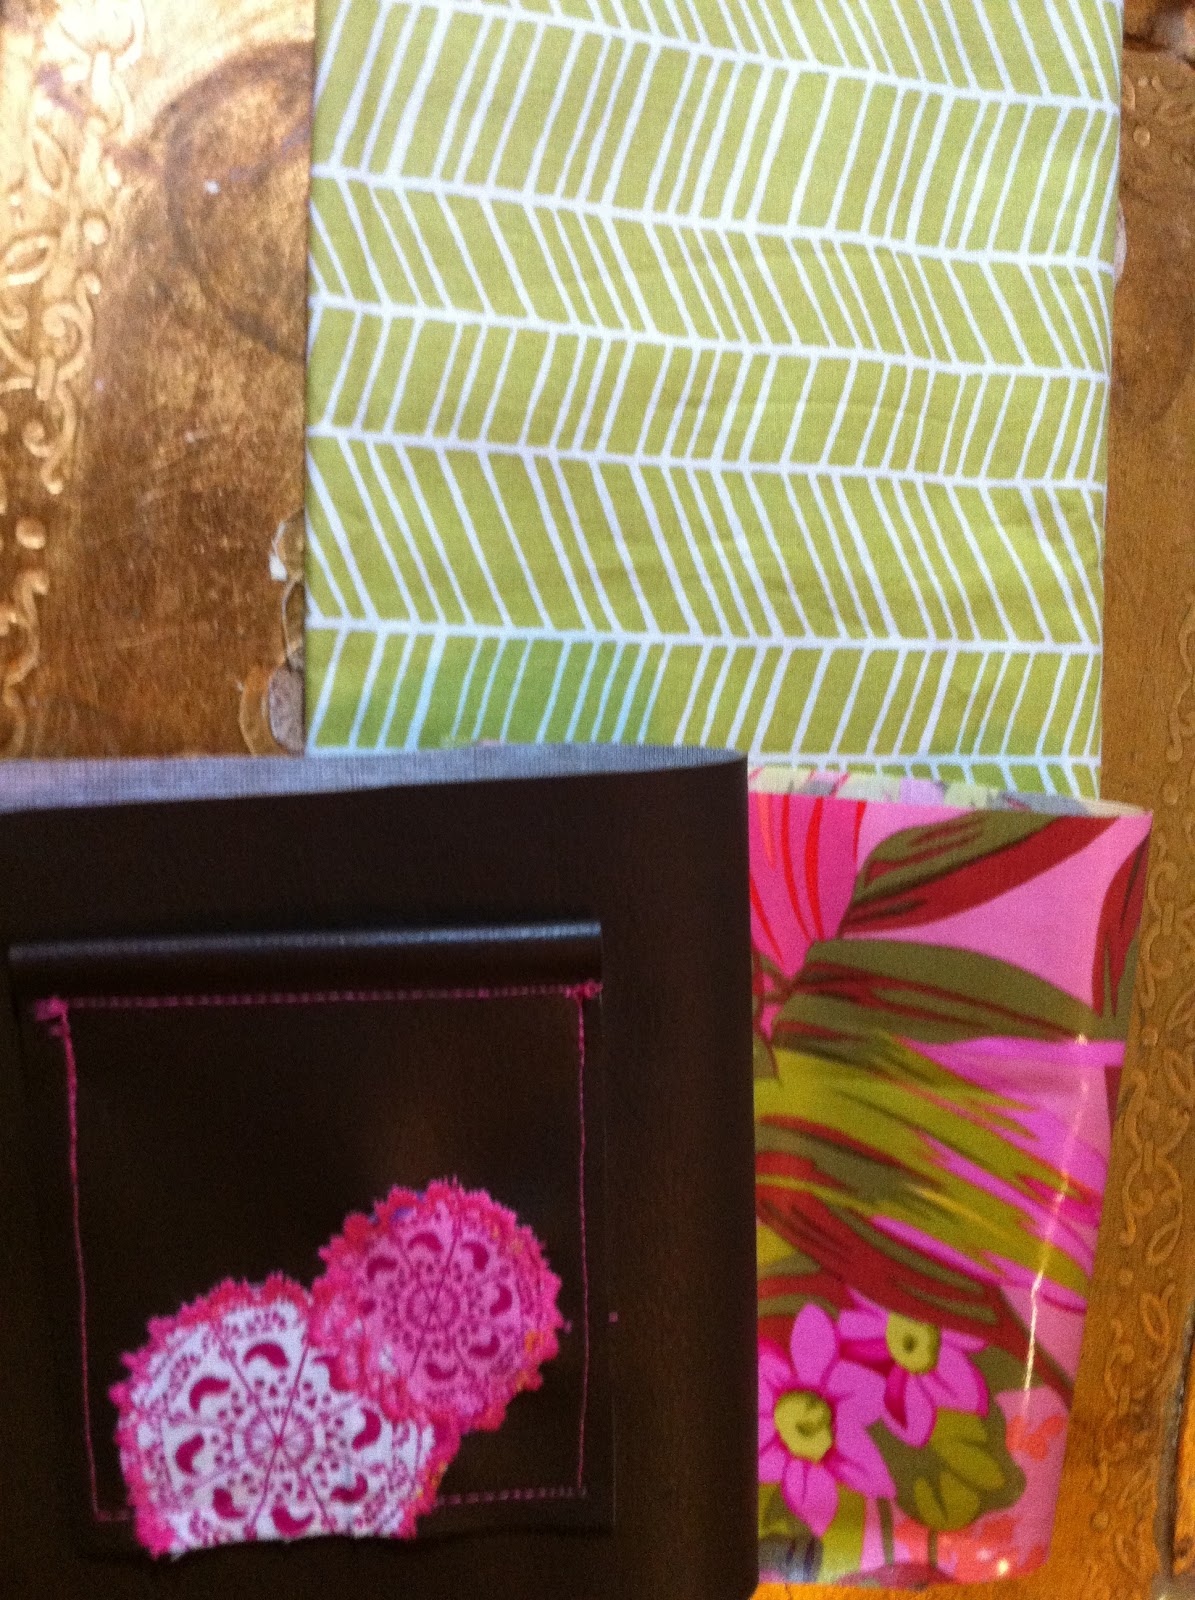
           Face it: Busy girls need tool belts. Cute ones. They need a place for their pens, and tape measurer and calculator, tip money, receipts, recipes and whatever else a girl needs while on the job. I first started making these about a year ago when I got a job at Compass Wines here in town and I got sick of running back and forth for things like box cutters and paper clips.


I am hoping to start selling them soon. I've made a few for coworkers and I have another in progress for my sister who works with kids at a day camp. Here is what I have going on for her:


This one is made of vinyl with an oil cloth lining for durability and easy cleanup. She is super stoked to get rid of her hideous fanny pack and fill this shiny new Tooly with Band-Aids, ice packs and Goldfish crackers. Just because you spend all day chasing kids around doesn't mean you have to sacrifice fashion for functionality. These have both! The only problem is that they are taking me forever to make. Even though all the pieces are predominately geometric shapes, I find myself over thinking the project in terms of how I am going to assemble it. Ugh. I spent an entire evening making cardboard stencils of all the pieces I need for each Tooly, and still it takes me twelve freaking hours to make one. Bleh. At that rate I will have to charge $100.00 a piece! Crazy!

Sunday, July 10, 2011

How a Dining Room Became Kelly's Bedroom

So since Kelly Deans moved in with us, it has been my mission to redecorate her dining room turned bedroom into a calm, relaxing space with basically zero dollars to put towards it. Ugh. No money? Really? Well, she did splurge on a duvet from CB2 for $80.00... not even that pricey, really. And then we spent five bucks on a dresser, fifteen on paint and another twelve on shelving.  Super cheap makeover!!!


SO, the biggest challenge was the dresser... ugh. It was crazy cheap so I excused it for being flimsy and broken and completely ugly. However, after a very traumatic paint stripping experience and a few coats of teal spray paint, it came out looking decent. Kelly also added a drawer lining to protect her clothing from all the splinted wood. Looks good!

The second biggest project in her room was the picture frame installation. We found a bunch of unused frames in the garage and painted them the same teal color as the dresser. Putting them on the wall would have been easy enough, however, the large open archway leading into the living room was still part way finished a whole three weeks into the construction. So now a whole two months into this project , we finally put those silly frames on the wall. I like the addition of the cheap plastic wall clock... it gives it an Alice in Wonder Land kind of vibe.


Then Kelly found these plastic letters at a thrift shop for ten cents. Not the whole alphabet so she didn't know what to do with them. But after I put her shelves up, I realized that they would make a great letter mosaic. Sweet!! That has to be the cheapest artwork of all time.


Last of all, we spray painted a pink birdcage black. I think it cost 8 bucks... it's meant to hold jewelry but I think it looks pretty just sitting there. :)


Tuesday, June 28, 2011

Organize Your Ribbon Now!


I came across this idea today while I was desperately trying to organize the storage room at work. So much stuff and absolutely no where to put it!!! What we do have, since I work at a wine shop, is wine boxes. So, I made that ^^ guy for our shipping room. Neat, huh?

These wooden boxes hold only three bottles a piece making them shallow and about a foot and a half tall. Perfect for RIBBON! or tape or gift wrap or whatever... The grooves at each end of the box will hold a 1/4" dowel in place. I cut the dowel with a HORRIBLE knife I found lurking in our employee kitchen. You should NOT do the same, as you may end up fingerless, but use a hand saw or ask your local hardware store to do the dirty work for you. After it's cut, slide the FedEx and UPS stickers onto the dowel and secure it with a piece of cork  at the opening so it can't slide out. Cork is flexible ( and also a widely available resource at work...) so it can squeeze into a tight space and secure the gap.


I plan on mounting it on the wall too. I will post a pick of that when it happens, BUT I loved it so much that I made one for my messy ribbons at home as well...


And while there is an unnecessary amount of space between the two rows, this homemade storage unite was free. And required minimal effort. I WILL, however, bust out my handy-dandy power drill one day and put a few holes in it eventually. Using a slightly too long dowel with a permanent stopper on one side, I can easily make another row. For now, I am happy with two rows.  
Now, finding wine boxes is easier than you may think. Many wine shops will sell extra boxes upon request or,   like at the shop I work at, they are sold for $5 twice a year at major wine events (our events are free!) Just ask. Lots of places are happy to get rid of them. Just be sure they have the grooves like the one shown above! Some boxes, surprisingly, do not! Then purchase your dowel at Ace or wherever... phew! If feels good to get that ribbon off the floor!!

Saturday, June 18, 2011

New Little Obsession

Lately I've been obsessed with camping. Not like the camping normal people do, more like gorgeous camping. Pretty acrylic dishes and old fashion canvas bell tents, bunting flags, hammocks and gourmet cooking. I want it all. On a budget, of course. As much as I want a WWII bell tent replica, there is no way I am about to spend close to a grand on one. Especially since reviewers say they are crazy heavy and hard to assemble. But seriously, aren't they amazing?


So, if I can't have an actual bell tent, I MUST have a tent worthy of a pretty picture, right? So I've been on the lookout for a pretty white, old fashion style tent. Maybe like this one:


At the very least, it won't be ugly bright yellow and grey and mess up my color scheme ;) Iv'e also been daydreaming about a big hammock, with a pretty, frilly trim hanging beneath a billowing mosquito net. Just the perfect place to read a book, away from all the bugs.Meep! I am working on making a detachable fringe for the sides of the hammock, just in case I want to de-girlify it for a game day bbq or something. I will also need to make matching bunting flags for the tent, I think...  

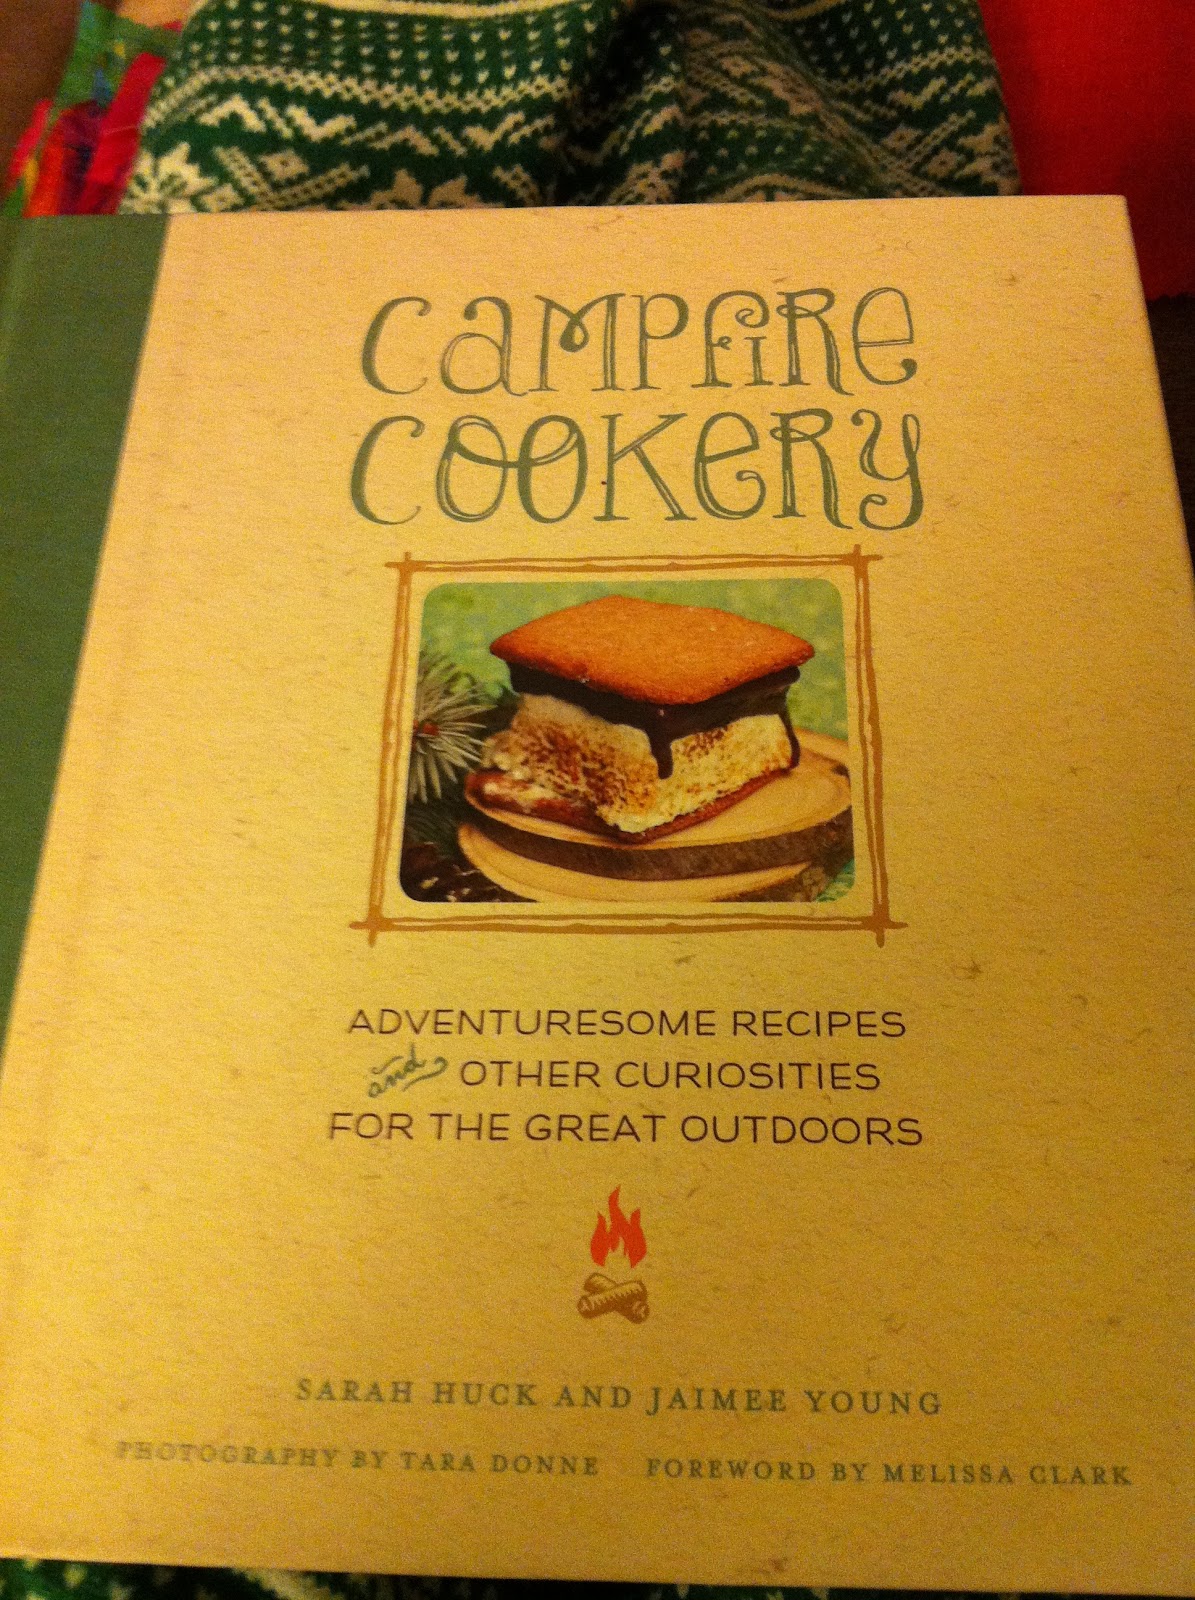
I've been getting my inspirations from this book my hubby ordered for me. He's so cute. I started talking about chickens and gardening and camping one day so he bought me a bunch of books on Amazon to surprise me. I am in love with this one:

Not only is it full of recipes on homemade marshmallows and gram crackers, it also has old world recipes like Chinese Tea Eggs (and foraging for snails for an escargot feast. Ahh!)


And my favorite part about the recipes is that it teaches you to use your dutch oven as an actual oven, by piling coals on the top of the pot, so you can make things like "campfire crumpets and scones" How fun!!

The book also has tidbits of information like this:


If you want to star gaze on your camping trip, there is a star chart, naturally

And what camping trip would be complete without a few folk tunes by the fire? Sheet music!! So cute!!


I am on a creative roll here. I am so excited to put all my ideas together and see it come to fruition on a actual trip. Ours is planed for next month on my birthday :)  I have so much to do before then!

-Jessica

Tea Time with Papier Mache

I got this lovely paper mache tutorial from Ann Wood's blog. Aren't they adorable? Mine are woodland inspired and while I originally thought I would fill the inside with glitter, I think I like how I painted the dandelions on the blue cup best.


When I first painted the cups, I wasn't sure that I liked how matte the water color dried on the newspaper so I sealed the paint with Modpodge gloss finish... After looking at them intensely, I've concluded I like the matte finish better, but I need to chill out on the excessive layering of newspaper during the actual paper mache process. More layers = sloppier surface. I feel like the light catches on all the rough edges. Especially the glitter on the inside of the teal colored one. But, practice makes perfect, I guess, so I will make more and more until they are just right!


Now, a side note on Ann Wood: I fell in love first with her amazing cake topper birds. I stumbled upon her etsy shop one day, while I was planning my January wedding and  knew instantly that I HAD to have these cuties on my wedding cake. She custom makes them out of vintage fabrics and gives them all cute unique names. I adore them. I want to fill my house with these ridiculously expensive creatures (at the time they were all made-to-order but it seems she is now selling them in various shoppes.)


These are the birdies she made for me! Greta and Marshal are their names.


Here they are happily perched atop my wedding cake. It's the small touches that make a wedding, I think. Anyway, just thought I would share. Hope you enjoy the tea cups!