So, my initial inspiration was from Whisker Graphics via iDiy
I bought my own washi tape from a crafty store in Bellingham and attempted this project... but I found that the tape didn't stick to the low quality wood of the clothespins. :( SO I switched gears and used other materials that would take the heat of a glue gun. I did manage to make a few cute pins from the washi tape, however. I ended up removing the spring so the tape would wrap around the face of the pin and, at the very least look clean and fresh... if my tape had been a bit bit thinner, it would have looked as awesome as hers ^^ To add my own personal flare, I added cute glittery-gold alpha stickers... a "J" for Jessica. Me.
My favorite and easiest (and cheapest) material was ribbon I bought from the dollar bin at Target. 3/8" wide + six different coordinating ribbons all for one dollar??? Seriously?! I hot glued the ribbon, then cut the length equal to that of the clothespin. Voila! And it took all of five minutes.
Next I used fabric:
I had some scrap fabric that had conveniently been reinforced by interfacing material that worked perfectly. It had the structure it needed to apply it with ease and it was immune to annoying fraying. Now, applying the interfacing material is the most annoying part of any sewing project, so if you would rather save yourself from early crafters fatigue, I fully support skipping this step. They only take a few minutes to make, so if it frays, make another one. Easy peasy. All I did, was hot glue the fabric, un-cut, to the clothespin, lining up only the far edge. After the glue sets, use regular sewing scissors to cut the fabric to the perfect size. Don't bother pre-cutting the pieces to fit the clothespins because chances are, you will end up using the scissors to clean up the edges anyway... save yourself a step and skip the measuring!
I also dabbled in scrapbooking paper...
AND my favorite that were inspired by office and school supplies...
At first, I tried to stamp directly on the wood but the ink bled within seconds. I used note cards to cover the surface with, which were a tad short to use vertically so I used a dye-cut heart stamp to finish off the edge, then I used mini alphabet stamps to make "Notes", "Important" and "Bills". Keep your life organized and cute. I then extended the alphabet stamps to include "Thanks!" and made a cute card-pencil gift! Voila! You could stamp "Happy Birthday" "Congrats" or whatever fits the occasion.
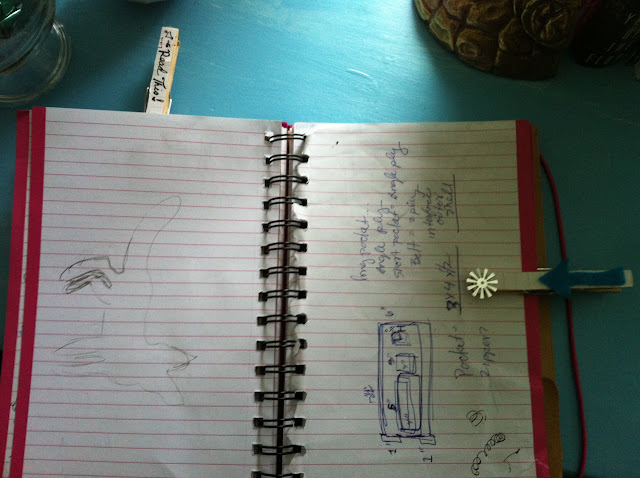
The "Study" inspired pins featured the same notecard veneer and turquoise felt to make an arrow and a heart! They can be used to designate places in textbooks and notes that are worthy of a revisit! How Cute! Bookmarks!
a few more inspirational shots...
keep all your fabric pieces organized!!
Display your random photos and papers...
Organize your mail...
The possibilities are endless, really... Have fun guys!!
Materials
*Clothespins
*Ribbon
*Fabric
*Scissors
*Washi tape
*Hot glue
*Mini pom-poms
*Scrapbook paper
*Glitter? fabric flowers? B&W Photos? Indulge yourself!!


Pretty things ! I love them! And so easy to make. I'm a teacher, so i'm going to have with the kids!
ReplyDeletePlease send me pictures!! I would love that!!!
ReplyDelete